Punch "online guitar tuner" into your favourite search engine and you'll not be short of links. It seems every man and his dog has created one.
But there are two tuners that stand above the crowd in terms of the accuracy and sensitivity of the mic/line-in response and the number of preset tunings offered (e.g. standard, drop, open, alternate etc.) - a great way to discover new tunings.
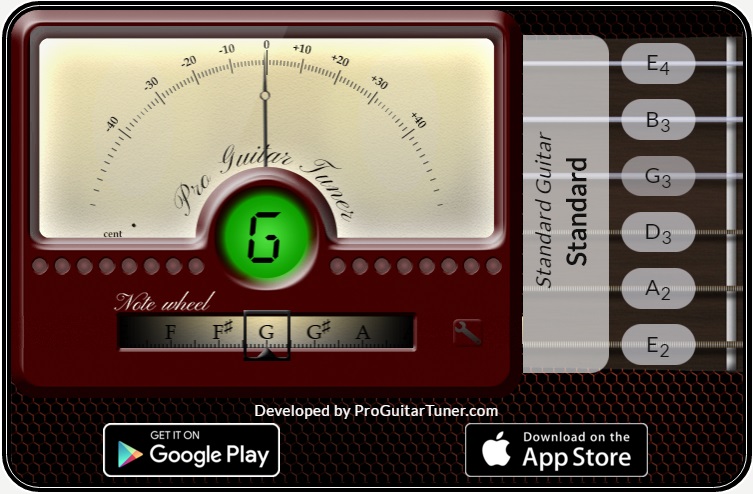
Pro Guitar Tuner (most features)
Tune by ear by choosing from a huge range of preset tunings, including general, raised, lowered, dropped, open and modal. You can also select tunings for 5, 7 and 8 string guitar, and other stringed instruments.
Alternatively, use your external mic or line input for the chromatic tuner. I also use the mobile app which has all the same features as the online version.
Tuner-Online (basic)
Worthy of mention. A more basic tuner but clear, responsive and precise when using your device's microphone. You can also tune by ear just below the tuner, where you'll find audio references for each string.
There are also some common alternate tunings available in the side menu.
Tips for Tuning by Ear
Being able to match the pitch of your string to one you hear is a skill that all musicians should work on developing. Not only for convenience when tuning, but the skill also helps to make your ear more sensitive to pitch recognition in general.
Always tune UP to the desired pitch. So down tune the string first before raising it slowly to the desired pitch. This will maximise the tuning stability on your guitar because of how string tension is held more efficiently when it is tightened as opposed to loosened.
As the pitch of your guitar's string gets closer to the tuner's voiced pitch (if you're using an audible reference), you'll hear a kind of rhythmic swelling or oscillating effect between the two pitches. Listen closely, it's quite subtle. Tune up as slowly as your fingers and the peg will allow - that oscillation/swelling will slow and eventually become flat. When the oscillation is no longer audible, you're in tune.
Try to listen out for that swelling effect slowing down as I tune up to match the reference pitch...
You can hear this effect more clearly when using string harmonics to tune up.
Why I Tune The 2nd & 3rd Strings Slightly Flat
 Right on the cusp!
Because of the imperfect nature of fretted instruments, string gauges and equal temperament tuning, some chord shapes you'll play make the 2nd or 3rd string notes sound slightly sharp, particularly if those strings voice the major 3rd of the chord you're playing.
For example, if you play an open E major chord, or an E shape major barre chord, you may notice the 3rd string (which voices the major 3rd of the chord) typically sounds a little sharp. Similarly, playing an open A major chord, or an A shape major barre chord, the 2nd string (which also voices the major 3rd) can sound a little sharp.
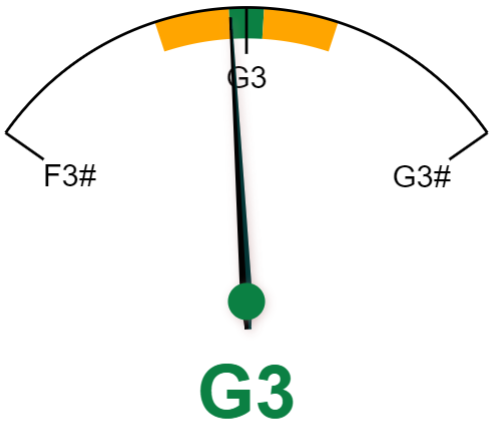
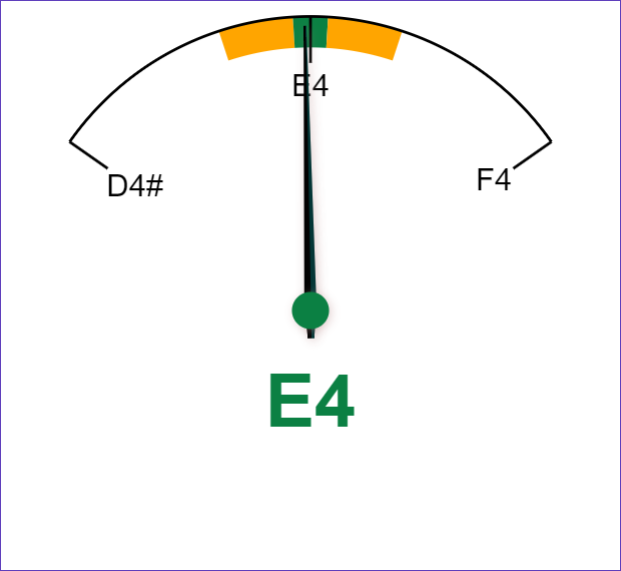
To compensate for this (and with the equal temperament tuning of guitars, it's always a delicate compromise), I tend to tune the 2nd and 3rd strings ever so slightly flat of their tuning pitch. So slightly, that when you tune up you might see the pitch dance between green and red (or the needle off-center to center).
This isn't absolutely necessary, but I've found this slightly flat tuning produces a sweeter sound on chords where the 2nd and 3rd strings voice the major 3rd. It also offers a broader compromise for playing chords in different neck positions.
Just don't obsess too much over it!
A Few Words On Intonation
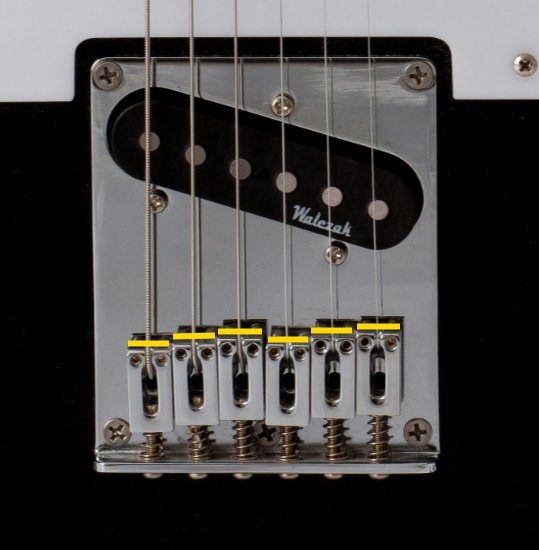
 A well set up and intonated guitar will form two climbing step sequences with the bridge saddles.
If you're playing an electric, don't forget to check your intonation regularly, especially when you've put on some new strings. Good intonation is part of a well tuned guitar - it means you'll be in tune all the way up the neck.
The most basic way to check this is to fret the string at the 12th fret and check its desired pitch on the tuner. If the open string is in tune, but the 12th fret sounds flat or sharp, you'll need to adjust the intonation at the bridge saddle.
If it's flat at the 12th: Move the saddle towards the neck/pickups slightly to shorten the vibrating length of the string. Retune the open string and check it against the 12th again. Repeat if necessary.
If it's sharp at the 12th: Move the saddle away from the neck/pickups slightly to increase the string length. Follow the same procedure to re-tune.
Just remember - 12th flat = shorten/towards neck, 12th sharp = lengthen/away from neck.
On a well setup guitar, once intonated correctly, the saddle formation should look similar to that in the image on the right - a climbing three-step formation from 6th to 4th string and 3rd to 1st string.


